The AeroPress, invented in 2005 by Alan Adler, is often said to have similar characteristics to that of the cafetiere.
While this may seem true there are a few main differences between the two. The first being that the AeroPress uses air pressure to improve the extraction of flavour from the coffee grinds. It also has a shorter brewing time and uses a finer grind compared to the coarse grind recommended for a cafetiere.
Scroll down to find out more about how to brew the perfect AeroPress right in your own home.
Grind:
Medium - Fine (17g)
Water:
220g (just below boiling)
Brewing Time:
2m - 2m 30'
To begin preheat your AeroPress and mug with hot water. Wet the filter paper, screw on and place the AeroPress over your mug.

Step 1
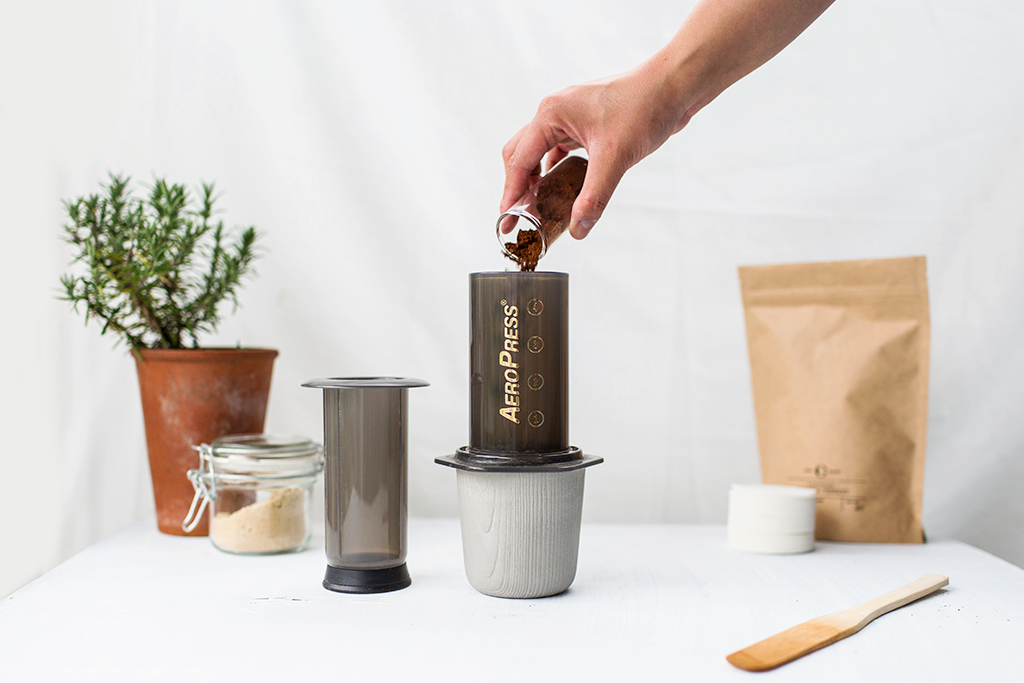
Discard the hot water used for preheating and add your coffee. Give it a tap on the side to ensure you have a level bed of coffee grounds.

Step 2
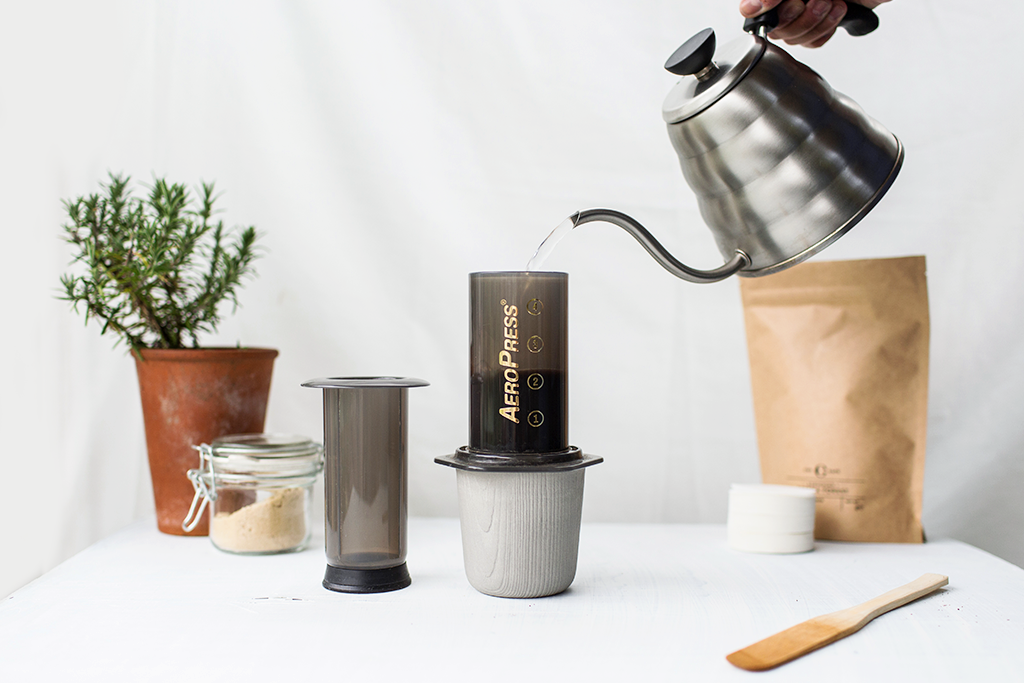
Start your timer and add the 220g of hot water within 10 seconds. Place the second part of the AeroPress on top and let it brew for 1m 15".

Step 3
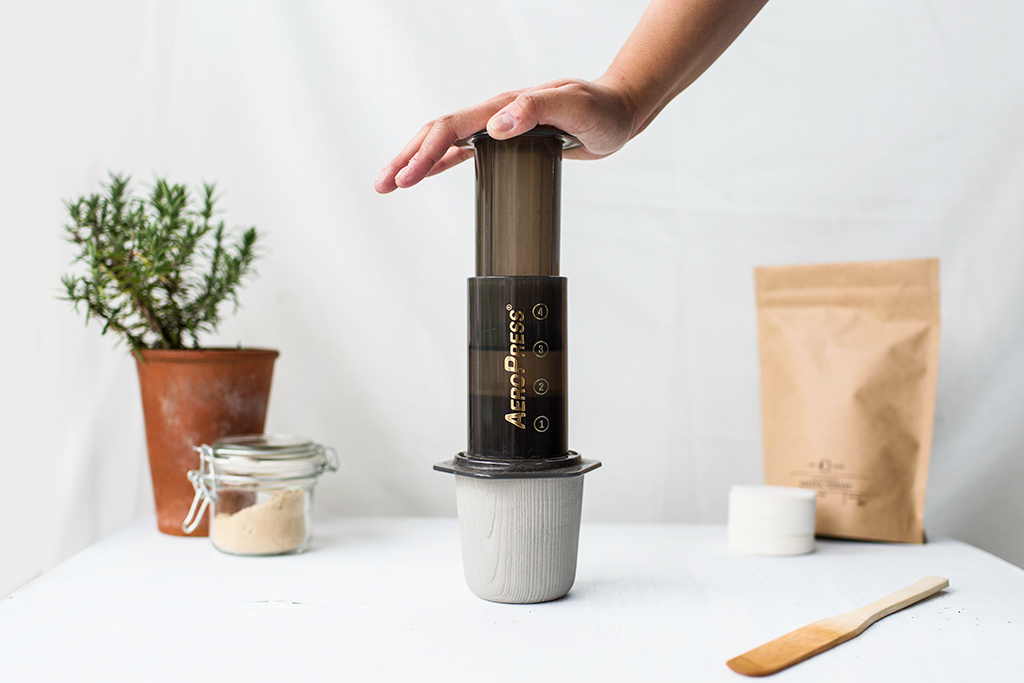
Once the time is up, give it a few vigorous stirs and plunge. This should take no longer than 20 seconds or until you hear a hissing sound.
And that's all it takes. Brewing an AeroPress is simple and produces a nice clean cup of coffee. A favourite amongst those looking for a quality single brewed cup.


